
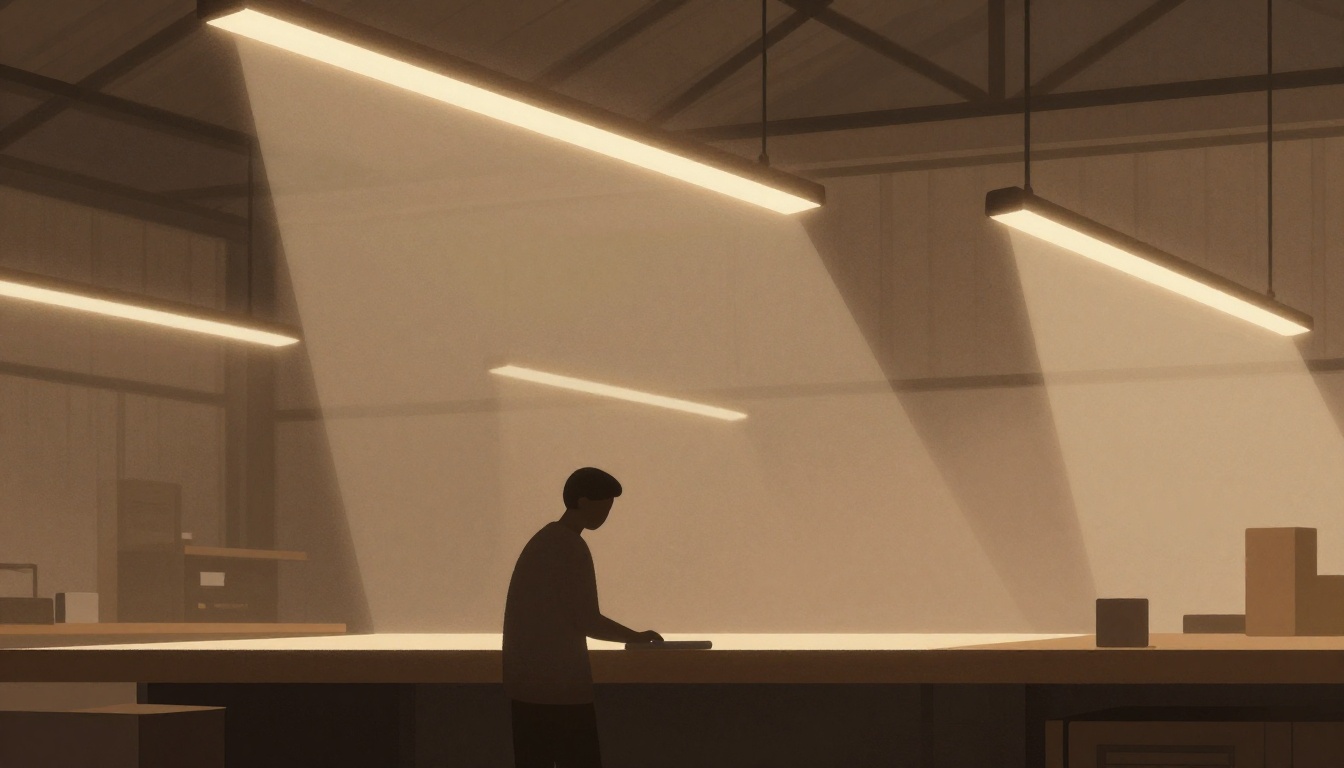
A steel barn workshop can be a dream space for tackling projects, but poor lighting turns it into a frustrating, shadow-filled cave. You can't just hang a few shop lights and hope for the best. Proper lighting design requires planning around your tasks, ceiling height, and electrical capacity. This guide walks you through the key decisions so you can build a well-lit workshop that's safe, efficient, and a pleasure to work in.
What is the recommended spacing-to-mounting-height ratio for even light coverage in a workshop?
Select one answer.
Start with your tasks and zones
Before you buy a single fixture, map out how you'll use the space. A workshop isn't one uniform area—it's a collection of zones with different lighting needs. For example, a workbench for fine detail work needs brighter, more focused light than a storage area for bulky equipment. According to a guide on cow shed lighting, different barn zones—like feed alleys, stalls, and treatment areas—require different light levels and controls. The same principle applies to your workshop: identify where you'll do precision tasks, general assembly, and storage, and plan your lighting accordingly. This zone-based approach prevents overlit corners and dark spots where you need to see clearly.
Choose the right fixture type and color temperature
For most steel barn workshops, LED fixtures are the clear winner. They offer lower energy consumption, no flickering, and instant brightness even in cold conditions—unlike fluorescents that can be slow to start in a chilly barn. When selecting LEDs, pay attention to color temperature, measured in Kelvin (K). For workshop settings, a daylight white around 5000K is the general consensus, as it mimics natural light and helps you see details accurately. Some prefer a slightly warmer 4000K, which can be easier on the eyes for long sessions. Also, consider the Color Rendering Index (CRI), which measures how accurately colors appear. For work involving finishes or stains, aim for a CRI in the 92–95 range to ensure true color perception.
Calculate fixture spacing for even coverage
The goal is uniform illumination without dark spots or harsh shadows. A common rule of thumb is to space fixtures approximately 1 to 1.5 times their mounting height apart. For example, if your ceiling is 10 feet high, space fixtures 10 to 15 feet apart. This spacing-to-mounting-height (S/H) ratio is a core principle in lighting design, as explained in a linear high bay spacing guide. For a typical 20-foot-wide garage, two parallel rows of three 4-foot fixtures spaced about 10 feet apart is a benchmark for even, shadowless coverage. In smaller workshops, LED shop lights should be spaced 4 to 8 feet apart, depending on ceiling height. Always check the fixture's beam angle—a wider beam (like 120°) covers more area, while a narrower beam (like 90°) is better for task lighting.
Don't forget wall placement and task lighting
The distance from the wall is just as important as the spacing between fixtures. As a rule, the first fixture should be placed about half the spacing distance from the wall. For example, if your fixtures are 10 feet apart, place the first one 5 feet from the wall. This prevents dark walls and creates a balanced "wall washing" effect. For workbenches or specific task areas, consider adding dedicated task lighting—such as an adjustable gooseneck light—to provide focused illumination exactly where you need it. Gooseneck barn lights, with their curved arm, are a popular choice for directing light precisely onto a work surface, and they come in energy-efficient LED options.
Plan your electrical load
Before you install anything, verify that your electrical panel can handle the load. If you're working with a 15-amp subpanel, you need to calculate the total input watts of all your fixtures, plus any controls or sensors. High-efficacy LEDs can help you fit more lights on a circuit, but you must use the complete fixture wattage, not just the LED chip wattage. A practical guide on shed lighting emphasizes that the real answer depends on the complete input watts of each fixture and how much of the circuit's capacity is already used. If you're unsure about your electrical capacity or code compliance, consult a licensed electrician. The National Electrical Code (NEC) and local codes must be followed to ensure safety.
Actionable checklist for your lighting plan
- Map your zones: Identify workbench, assembly, and storage areas.
- Set light levels: Use brighter light (more lumens) for task areas, lower for storage.
- Choose LED fixtures: Opt for 5000K color temperature and a CRI of 92+ for accurate color.
- Calculate spacing: Use the 1 to 1.5 times mounting height rule.
- Position fixtures: Place first fixture half the spacing distance from the wall.
- Add task lighting: Use gooseneck or adjustable fixtures for workbenches.
- Check electrical load: Sum the input watts of all fixtures and compare to your circuit capacity.
- Consult a professional: For any electrical work, hire a licensed electrician to ensure code compliance.
How the Featured Expert Can Help
Warthog Steel Co. designs and builds custom steel barns, sheds, garages, and carports across the USA. As a veteran-owned company, they emphasize durability, craftsmanship, and personalized service for agricultural and residential clients. If you're planning a steel barn workshop, they can help you design a structure that accommodates your lighting needs from the ground up. Visit Warthog Steel Co to discuss your project.
Quiz
What is the recommended spacing-to-mounting-height ratio for even light coverage in a workshop?
- 1 to 1.5 times the mounting height
- 2 to 3 times the mounting height
- 0.5 to 0.75 times the mounting height